Home Lab with Proxmox Part 1: Home Assistant
I wanted Home Assistant to run as a dedicated virtual machine on Proxmox VE, with clean backups, easy resource control, and the option to pass through hardware later. The easiest way I found was to use the community Proxmox VE script for Home Assistant OS.
This guide assumes that Proxmox VE is already installed and that you have access to the node shell from the Proxmox web interface.
What you need
- A working Proxmox VE server
- Administrator access to the Proxmox web interface
- Enough storage for the Home Assistant OS virtual machine
- Optional: a ZBT-2 or another USB device you want to pass through
Step 1: Open the Proxmox shell
In the Proxmox dashboard, select your server node and open the Shell tab.
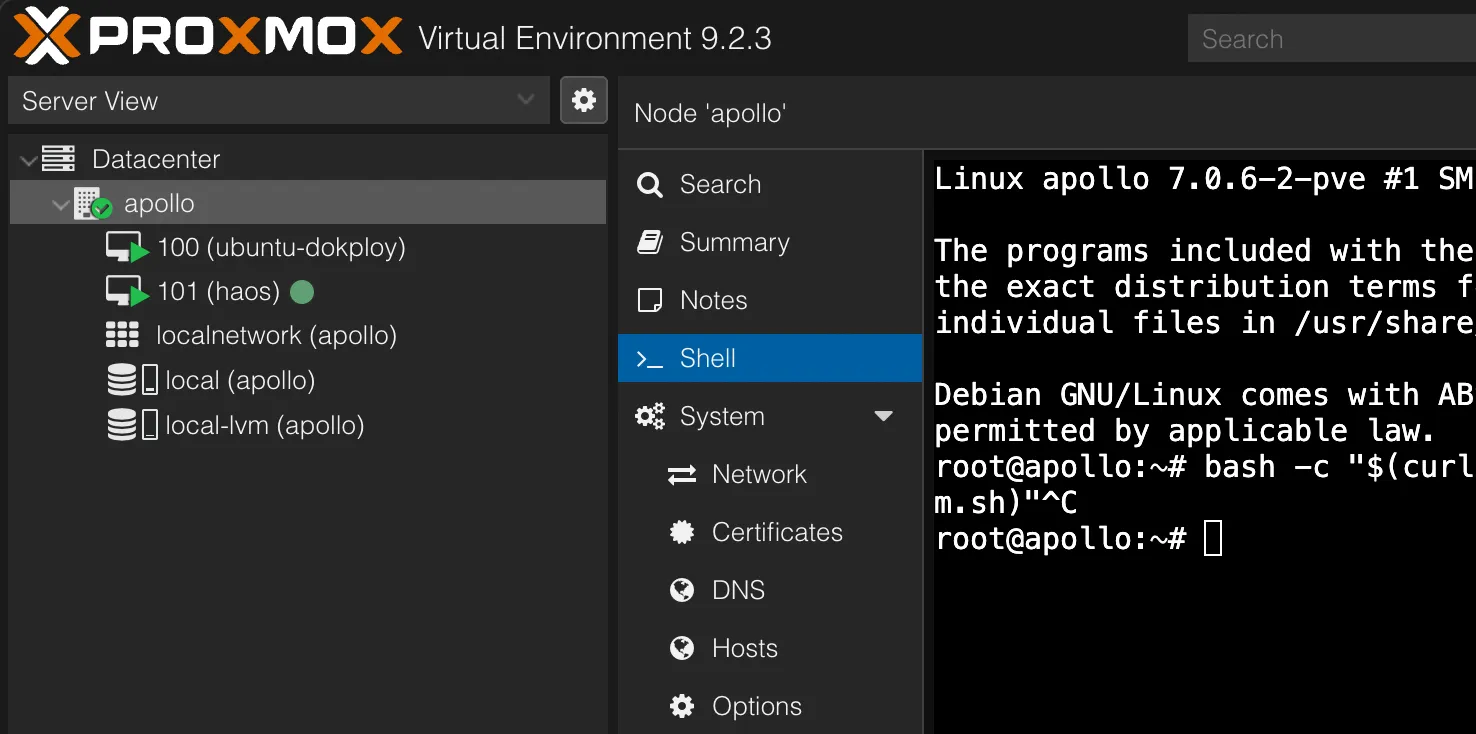
Run the following command:
bash -c "$(curl -fsSL https://raw.githubusercontent.com/community-scripts/ProxmoxVE/main/vm/haos-vm.sh)"The script will open an interactive setup flow. Follow the prompts and choose the options that match your hardware and storage layout.
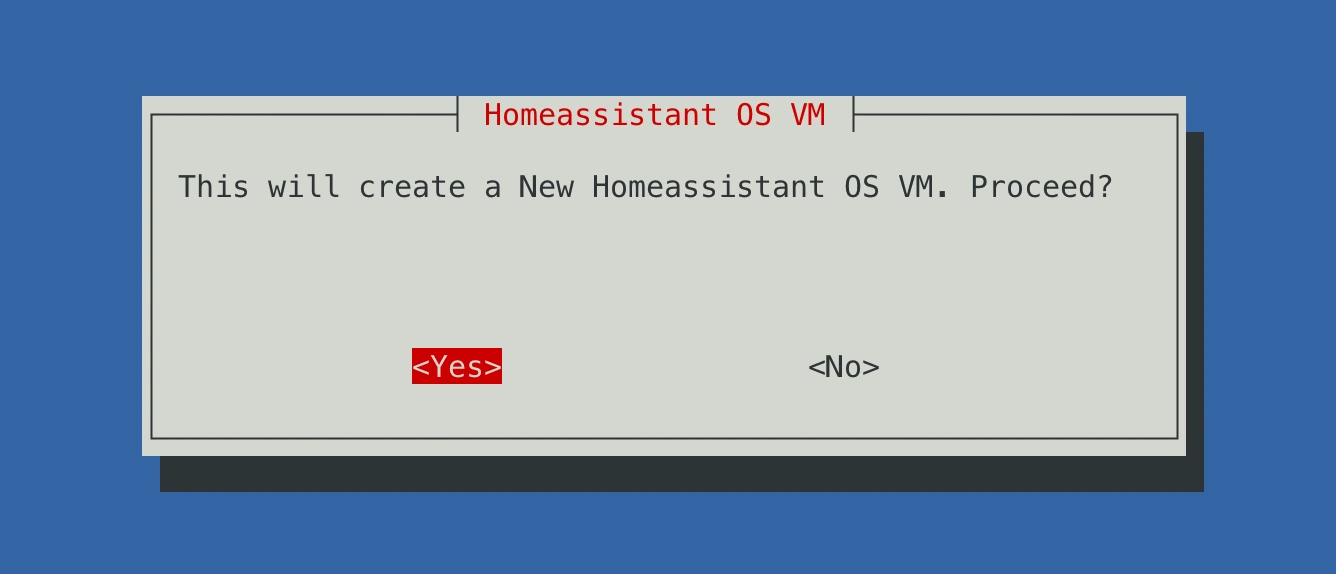
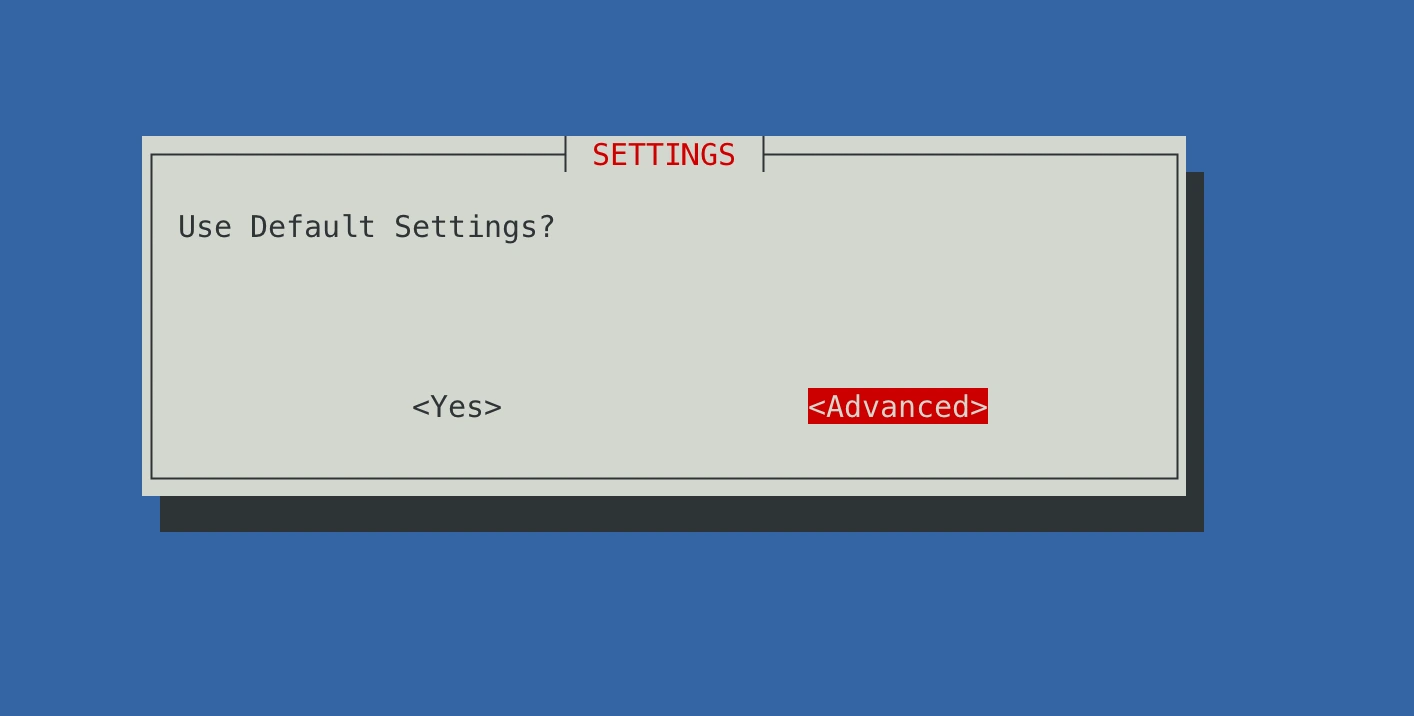
Step 2: VM settings
Select Advanced settings so you can review the VM configuration before it is created.
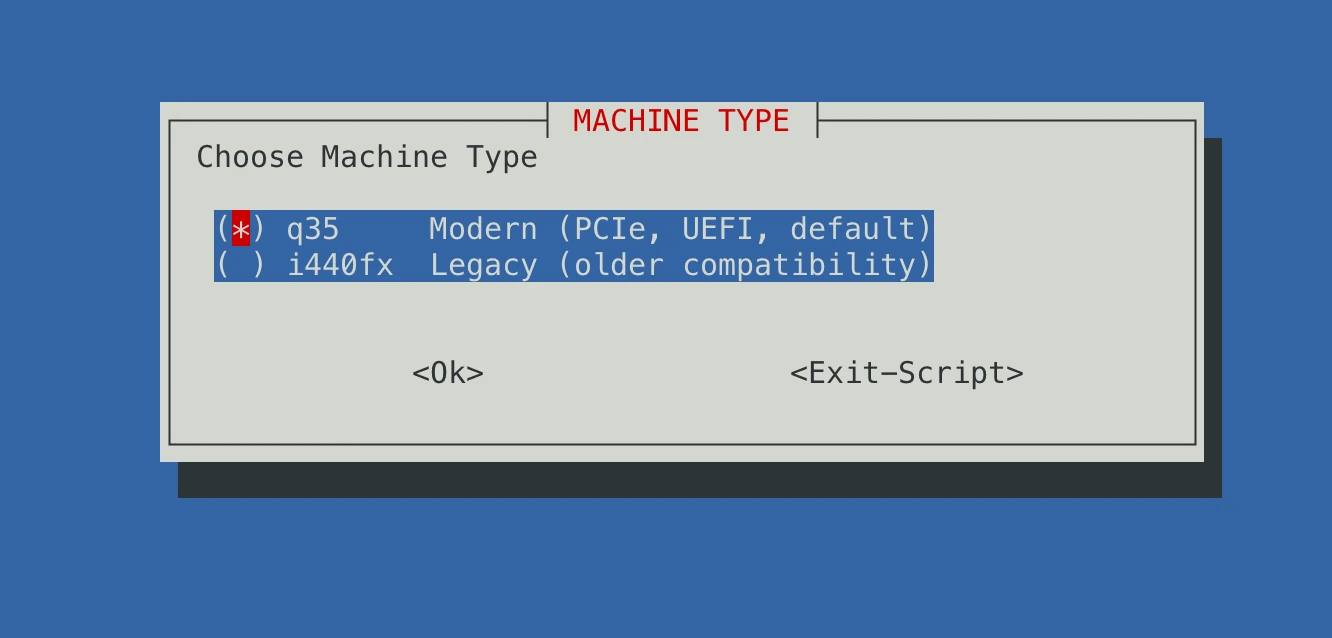
Set the machine type to q35. It is the modern machine type and works well for a Home Assistant OS VM.
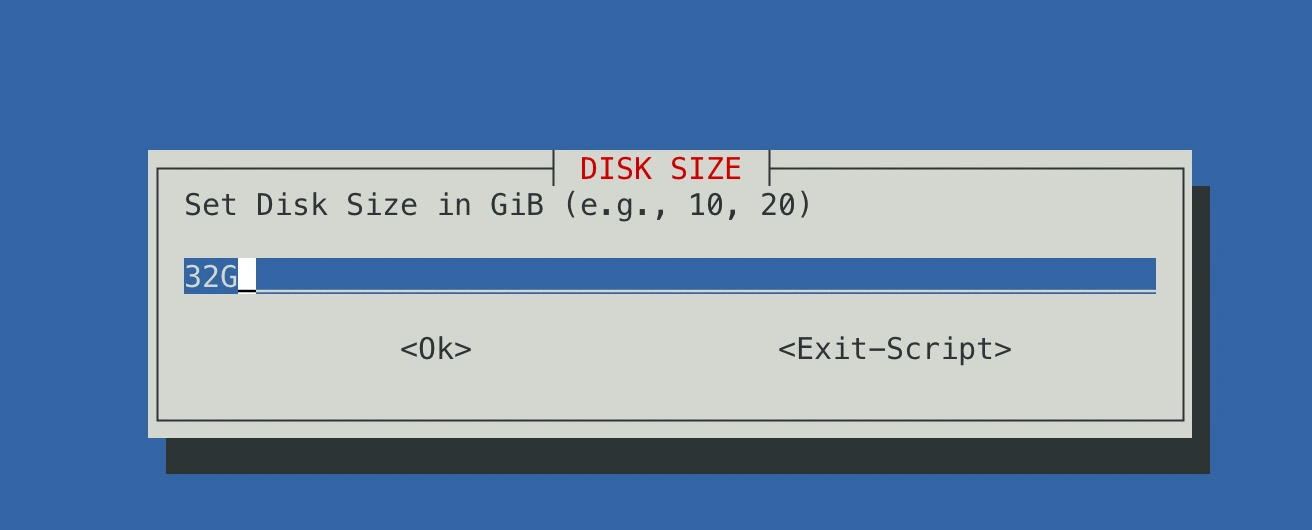
For disk size, 32G is usually a good starting point for a normal Home Assistant installation. You can expand the disk later if your setup grows.
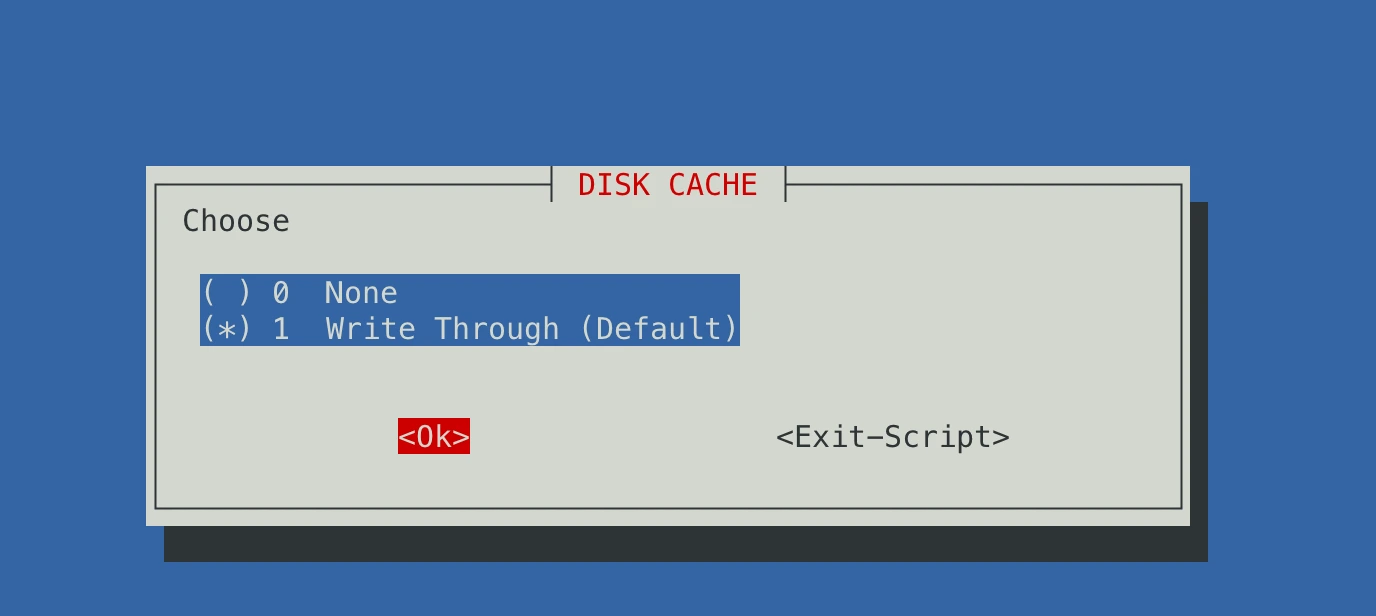
Leave the cache option at the default value, Write through.
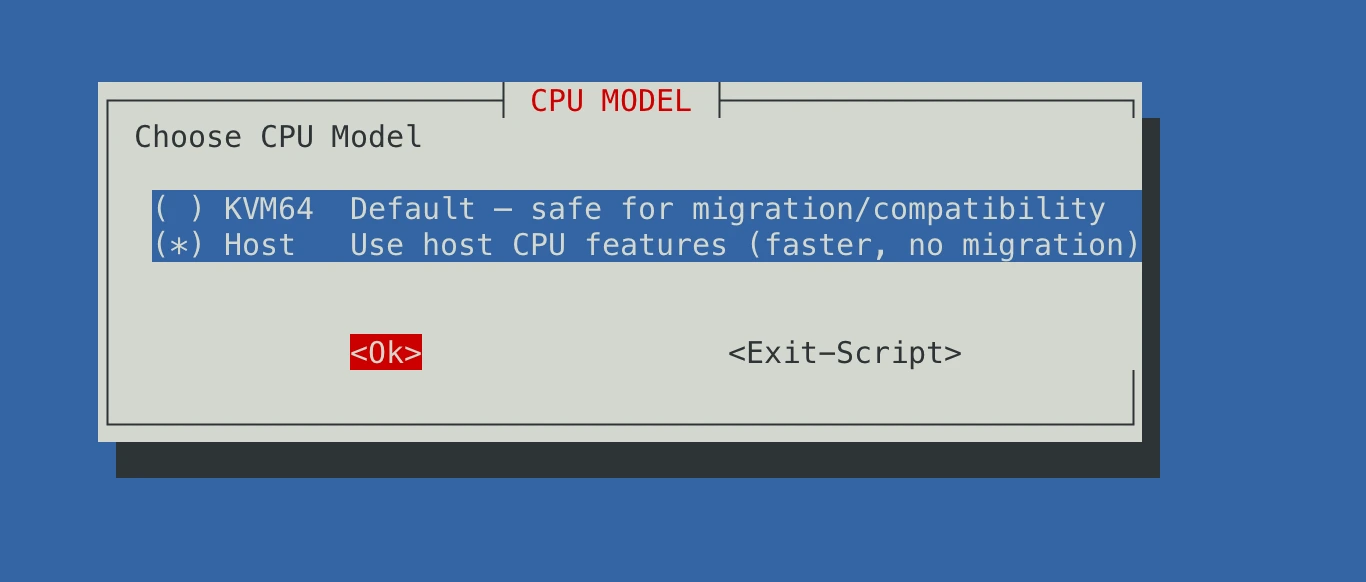
For the CPU model, select host. This lets the VM use the CPU features available on your Proxmox server.
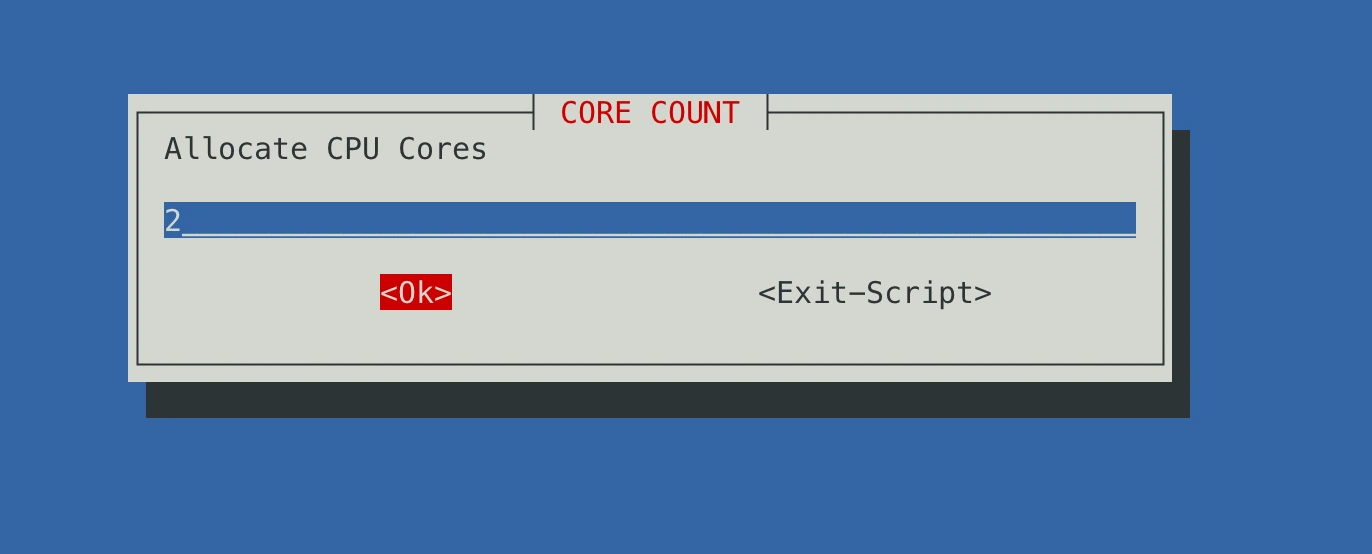
I assigned 2 cores. That is enough for most Home Assistant installations, and it is easy to increase later if you need more.
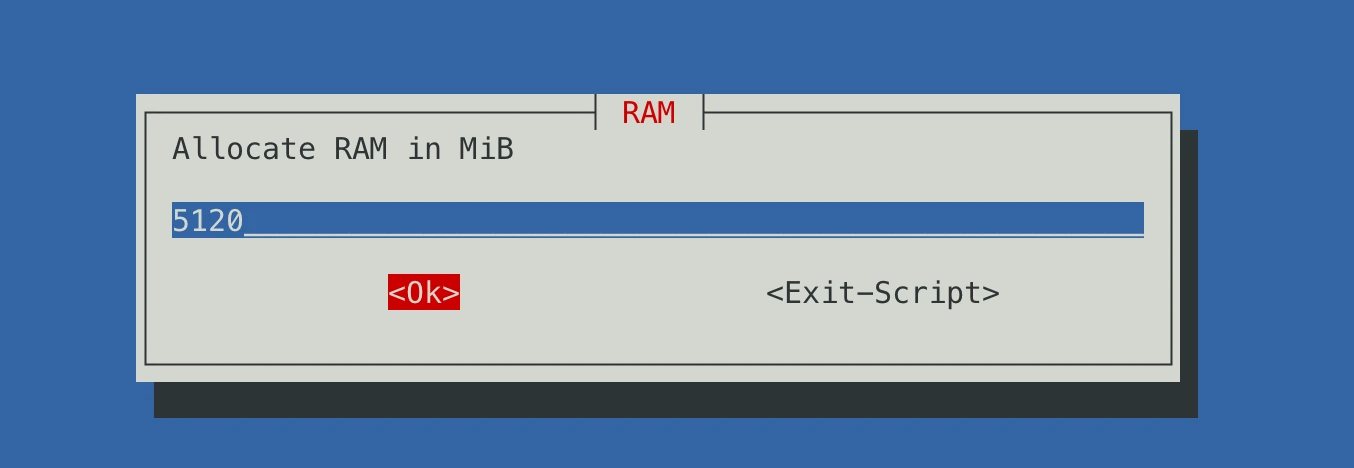
For RAM, I allocated 5GB. You can start lower, but 5GB gives Home Assistant some room for add-ons and integrations.
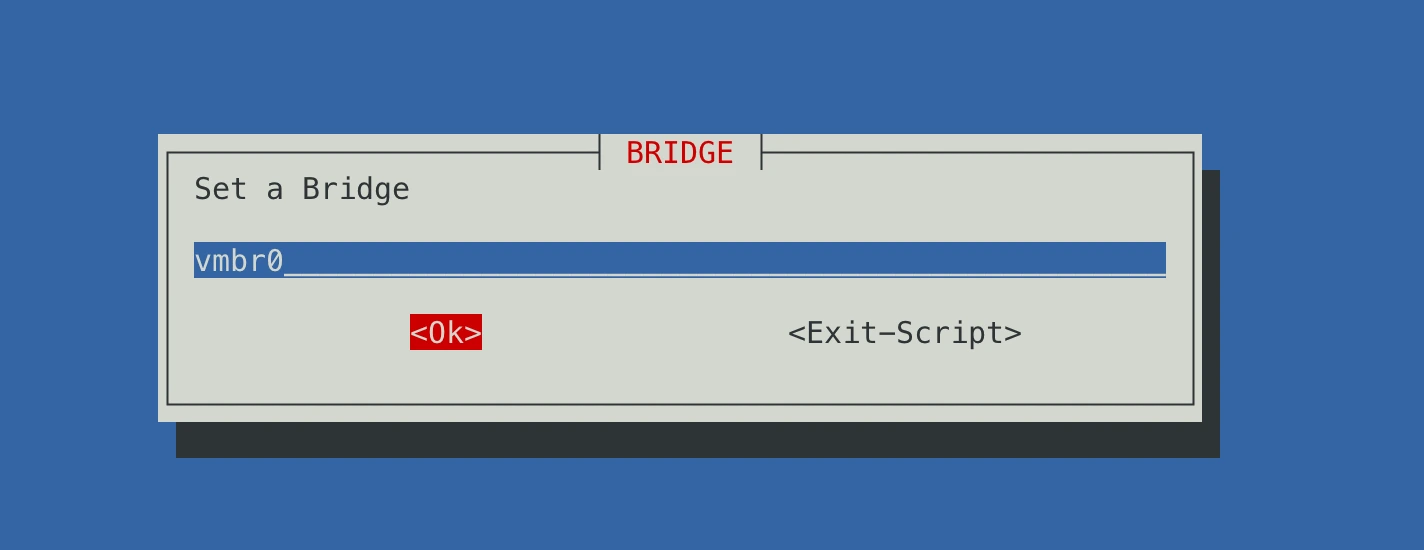
For networking, I left the default settings. In most home lab setups, the default bridge is the right choice.
Step 3: USB passthrough
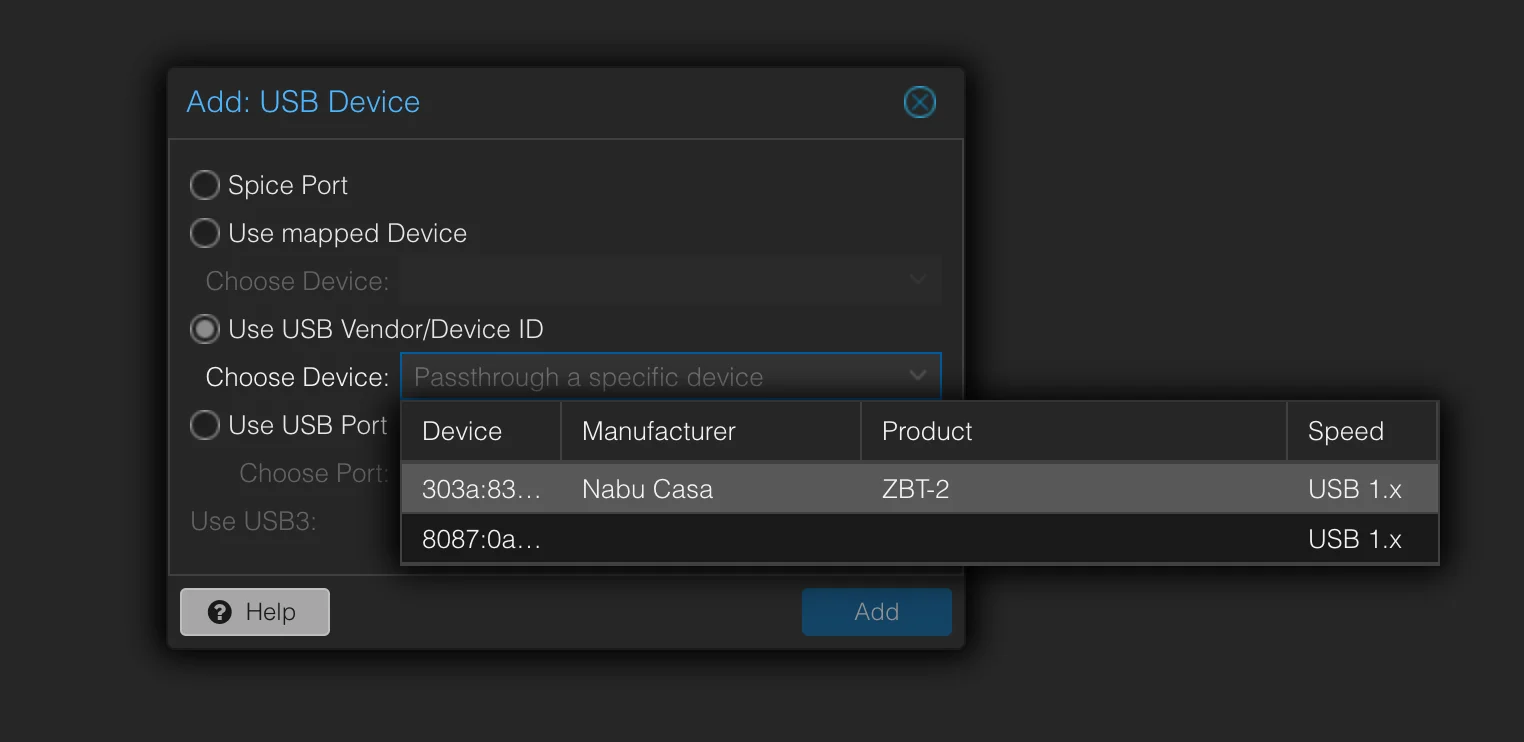
If you use a ZBT-2 device, or another USB device that Home Assistant needs directly, pass it through to the VM. Select the Home Assistant VM, open the Hardware tab, then choose Add -> USB Device.
Select Use USB Vendor/Device ID and pick the ZBT-2 device from the list. This attaches the device to the Home Assistant VM instead of leaving it on the Proxmox host.
Step 4: First boot
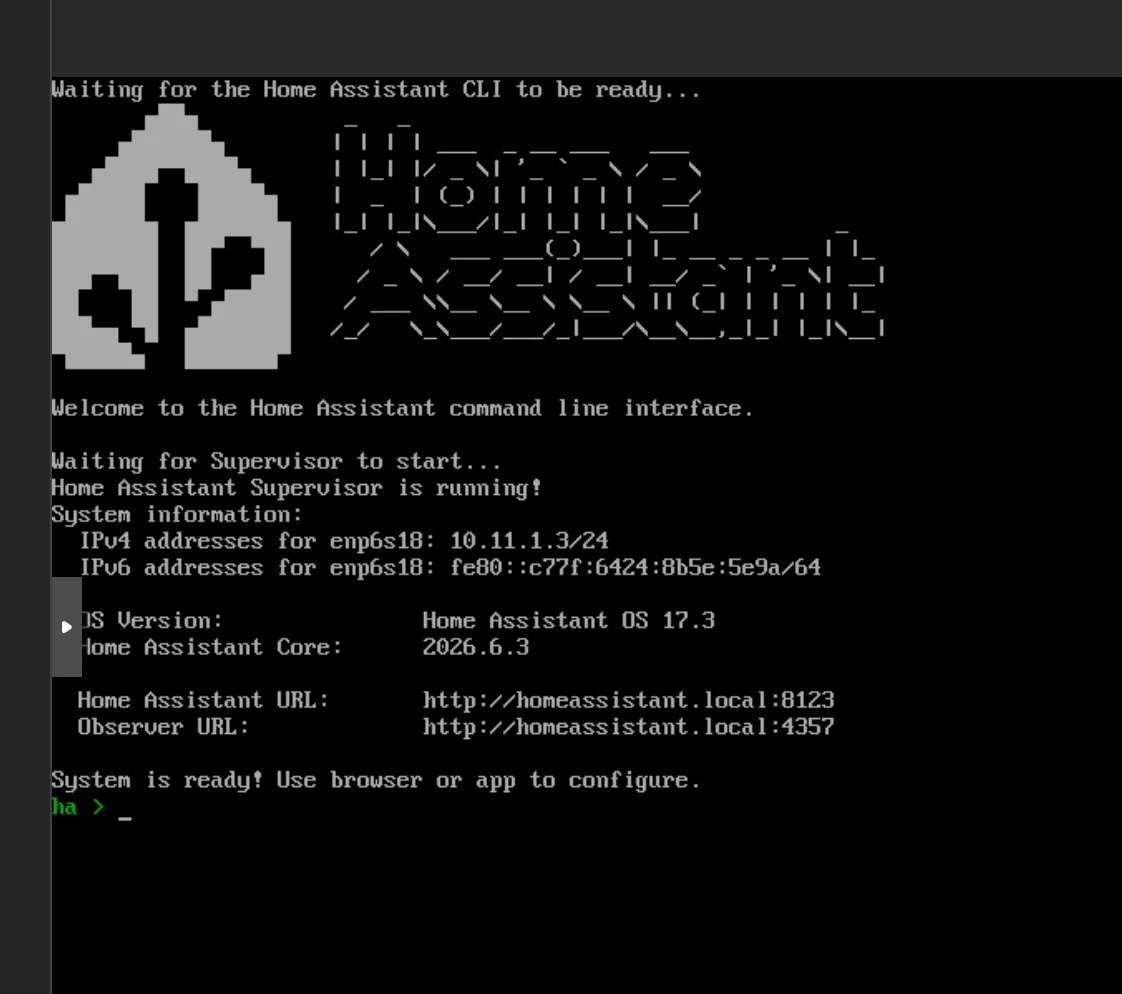
Reboot the VM after changing hardware settings. Once Home Assistant finishes booting, open the URL assigned to the VM and complete the first time setup from the Home Assistant web interface.
To reach this Home Assistant instance away from home without opening a router port, continue with my guide to Home Assistant remote access through Cloudflare Tunnel.